

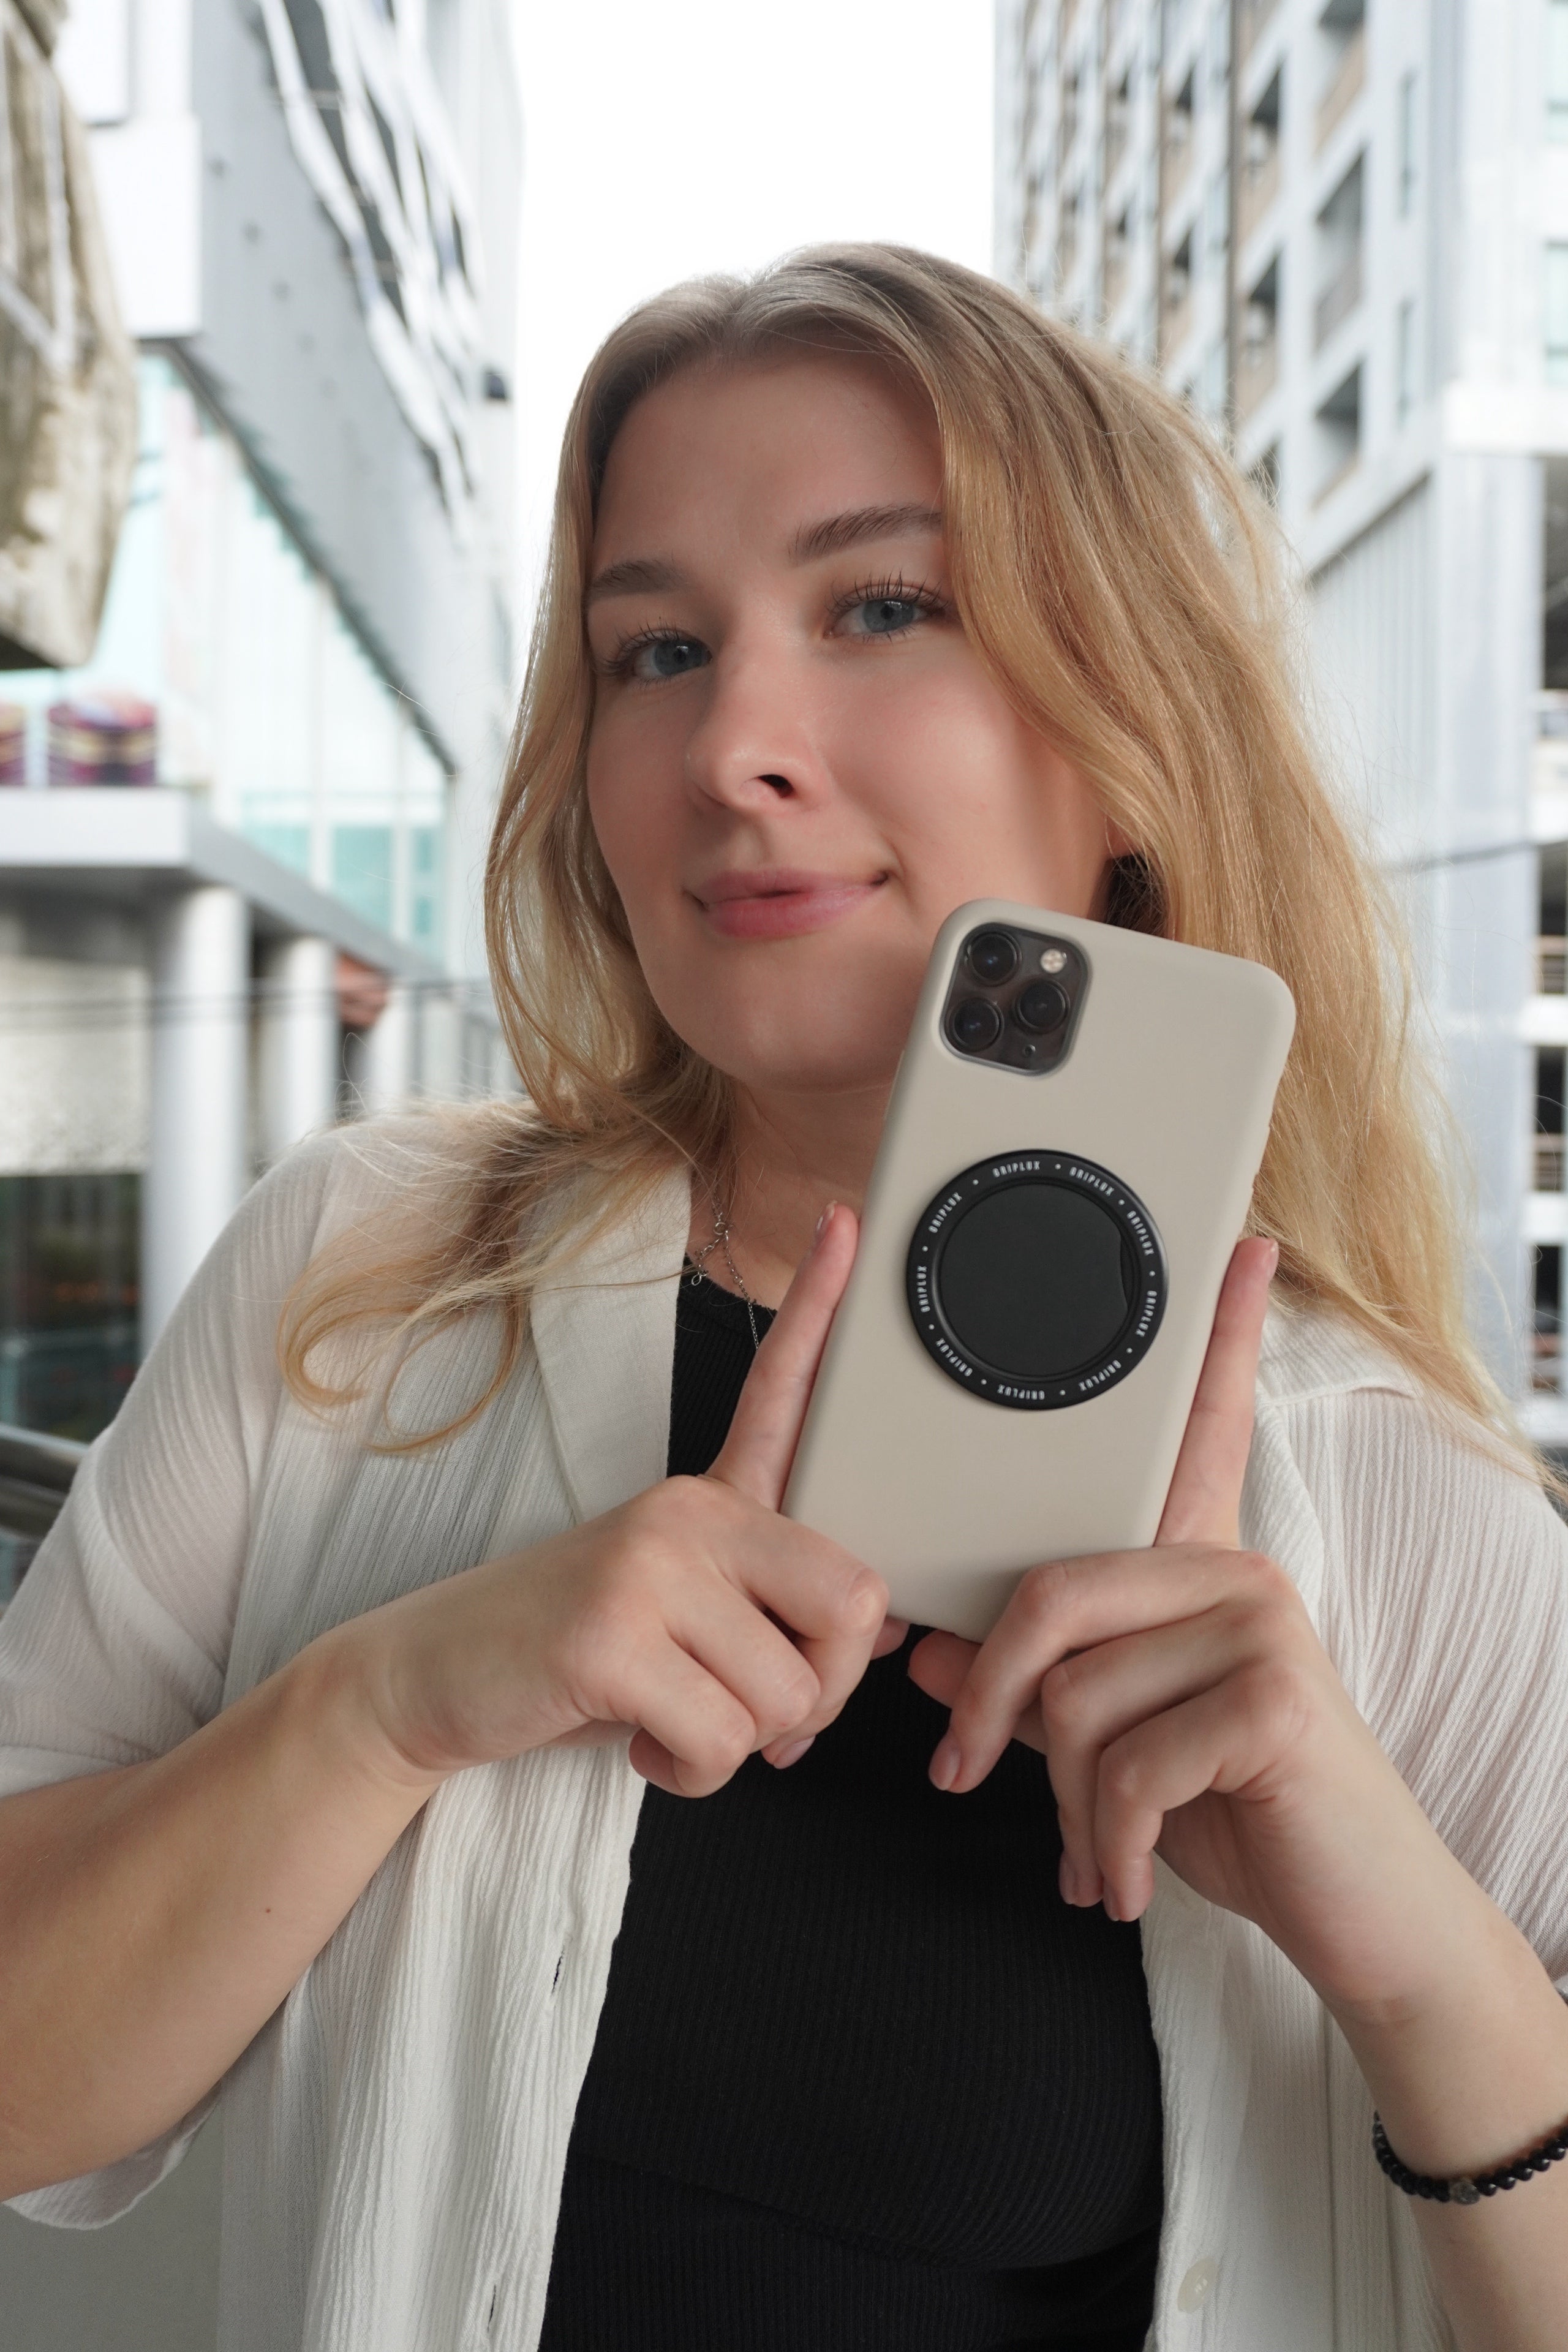
A new phone case can look right in the box and still reveal an awkward detail during everyday use. Perhaps your charging cable has a chunky connector, the edge crowds your screen protector or a button takes more effort than you expect. A few checks at home can catch those problems before the case becomes part of your routine.
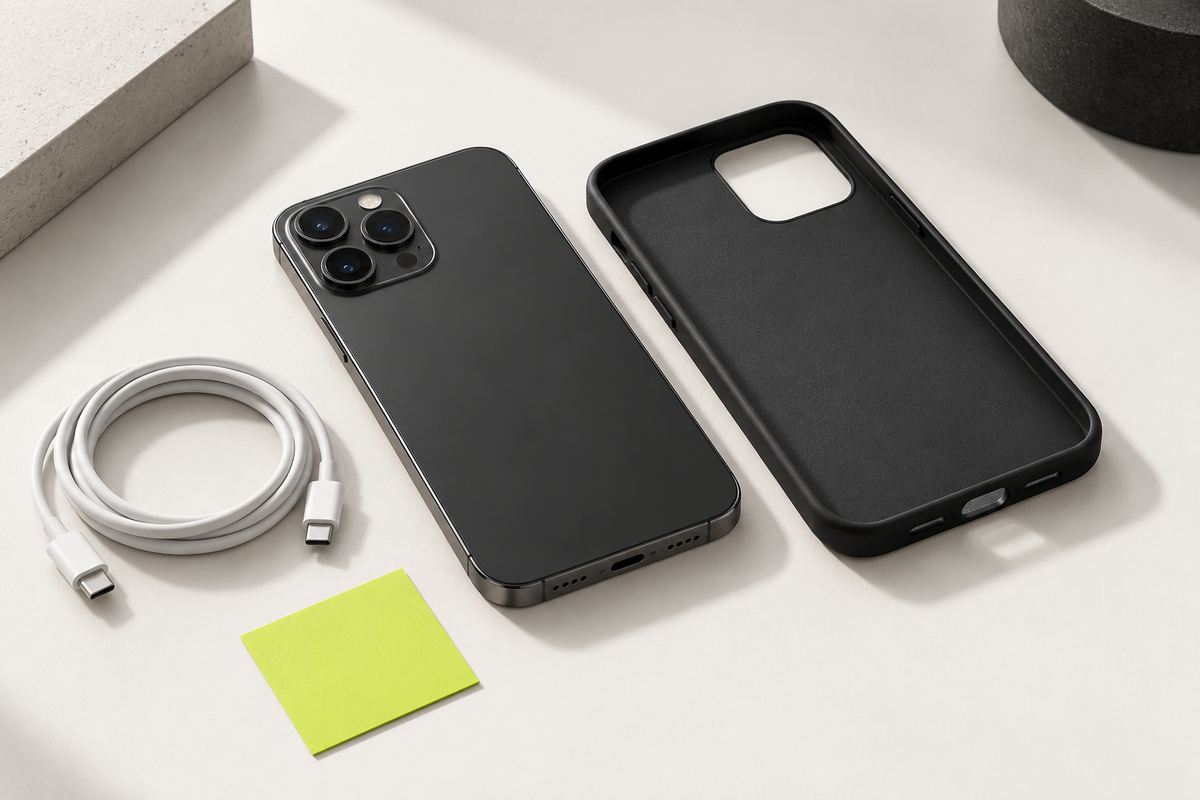
Set the phone and case on a clear table with the accessories you actually use. Keep the packaging and order details nearby. The aim is to confirm the complete fit, without forcing parts together or putting the phone through a drop test.
1. Match the full model name
Check the exact phone model against the case variant you ordered. Include the full name: Pro, Plus and Pro Max are meaningful parts of the model, and a product title that lists a whole series may contain several separate variants.
If you need to identify the device, Apple explains how to find its model number in Settings, under General and About. Tapping the part number shown beside Model Number reveals the model number. Use Apple's identification information if the name or packaging leaves you unsure.
Do not assume two phones share a case because their screen sizes look similar. Compare the selected option on your order with the label on the received case. Resolve a mismatch before fitting it, rather than seeing how much pressure will make it work.
2. Check how the phone seats
Follow the case maker's installation instructions. With the phone seated, look around the corners and edges in good light. Check for a lifted corner, a trapped piece of packaging or an edge that does not sit as intended.
A case may deliberately leave parts of the phone exposed, particularly in a minimal design. Compare what you see with that case's product images and description. An intentional opening and a poorly seated corner are different things, so inspect the design rather than expecting every case to have the same coverage.
For example, the Soft-Touch Liquid Silicone Case and Solid Black MagSafe Thin Magnetic Case are different formats to compare in the correct model option. Material or style alone does not establish compatibility with your phone.
3. Try the controls and camera
Press each covered button gently and check that it responds normally and releases. Test any exposed switch or control you use. The case should not hold a button down, require an awkward fingernail angle or interfere with your usual gestures.
Look around the camera opening. Check that the case sits where its design intends and does not overlap a lens or flash. If you have added a separate lens protector, inspect the combination carefully; two accessories sold for the same phone are not automatically compatible with each other.
Take an ordinary photo and, if you use it, a flash photo. Compare any unexpected result with the case removed according to its instructions. This is a basic function check, not a test of impact protection or a guarantee that an added camera accessory will work.
4. Try your screen protector and charging cable
Look at the screen protector's perimeter after fitting the case. Check for a corner being pushed up or an edge that has started to lift. Swipe from the screen edges and type a short message to see whether the case feels comfortable in normal use.
Plug in your usual charging cable without forcing it. The connector should seat properly rather than stopping against the case cutout. Confirm that the phone shows it is charging, then unplug it normally. A cable that fits one case may have a housing too large for another.
Do the same physical check with any stand or dock you rely on. Look for supports pressing buttons, a lower lip that cannot accommodate the case or a position that leaves the phone unstable. Keep a hand close while testing the arrangement over the table.
5. Check magnetic accessories and wireless charging separately
If you use a magnetic grip or wallet, confirm that both the case and accessory are intended for that setup. Try the attachment over a table while holding the phone. Avoid swinging, shaking or lifting the phone by an unverified accessory to see whether it holds.
Then test wireless charging in the arrangement the charger manufacturer recommends. Magnetic attachment alone does not show that charging has started. Remove detachable accessories that are not meant to remain between the phone and charger.
Apple's wireless-charging guidance says to keep objects out from between the phone and charger, including cards and other sensitive items. It also suggests removing a thick, metal or battery case if charging fails or is slow. Check the phone's charging indicator rather than assuming a magnetic snap means the setup is working.
If something does not fit
Stop forcing or modifying the case. Note the phone model, ordered variant and specific issue, and take clear photos of the affected area. Keep account details and unrelated personal information out of those images. Check the store's current returns or support instructions before sending the details.
A successful check ends with a case that fits your actual day: controls you can reach, a cable that seats, a screen you can use and accessories that work together. Those small details are worth checking while everything is still on the table.
Share:
A Better iPhone Desk Setup: StandBy, Charging and a Magnetic Grip
USB-C Cable Ratings: Read the Watts and Data Speed Separately